April 1, 2026
How to Refinish Original Hardwood Floors
- How do you properly assess the condition of your hardwood floors before refinishing?
- What tools and materials are essential for a successful hardwood floor refinishing project?
- How should you sand and prepare hardwood floors to achieve a smooth, professional finish?
- What is the correct process for staining and sealing hardwood floors to ensure durability and appearance?
- How can you match your staircase renovation with newly refinished hardwood floors?
- Should you refinish hardwood floors yourself or hire a professional contractor?
Original hardwood floors are far more than just a structural surface to walk on daily. They represent a historical tapestry woven directly into the architecture and character of your home. Whether you have recently unearthed century-old heart pine hidden beneath decades of carpet or you are looking to restore the original luster to mid-century white oak planks, hardwood floor refinishing remains the ultimate way to elevate your property value and interior aesthetics simultaneously.
As a veteran in the flooring industry, I have watched countless homeowners, ambitious DIYers, and seasoned professionals tackle this exact transformation. The process demands absolute patience, unwavering precision, and a foundational understanding of wood science. When executed correctly, the final results are nothing short of spectacular. This comprehensive, deep-dive guide will walk you through the entire process step by step. We will cover everything from initial diagnostics to the final coat of sealant, ensuring your classic floors look pristine and perform flawlessly for decades to come.
1. Assessing the State of Your Original Hardwood Floors
Before you rush to the hardware store to rent a single piece of heavy machinery or buy a single drop of stain, you must conduct a highly detailed diagnostic evaluation of your current floors. Treating all wood the same is a recipe for disaster. Not all hardwood can or should be refinished in the identical manner.
Determine the Remaining Wear Layer
First and foremost, you must determine the exact thickness of the remaining wear layer. Original solid hardwood floors can typically be sanded down four to six times over their total lifespan. If your home is older and the floors have been repeatedly serviced by previous owners, you might be dangerously close to exposing the tongue-and-groove joints. To check this safely, locate a floor register, a cold air return, or a transition strip where you can clearly see the cross-section profile of the planks. You need a bare minimum of 1/8 inch of solid wood remaining above the groove to safely proceed with a full, aggressive sanding process. If you have less than this, you risk the tops of the planks splintering off entirely.
Identify the Wood Species and Existing Finish
Understanding what you are working with dictates your approach. Red oak and white oak are incredibly common, but they react differently to stains. Maple and birch are closed-grain woods that are notoriously difficult to stain evenly without heavy blotching. Pine is soft and requires a lighter touch with the sanding machines to avoid aggressive gouging.
You also need to figure out what type of finish is currently on the floor. Try the water drop test. Place a few drops of water on the floor in a high-traffic area. If it beads up, the finish is intact. If it soaks in and darkens the wood, the finish has failed. Next, find an inconspicuous corner and rub a cotton swab dipped in rubbing alcohol on the surface. If the finish gets sticky or transfers to the swab, you are likely dealing with shellac. If it does not react, it is likely a modern polyurethane or an old varnish. Knowing this helps you choose the right starting abrasive grit.
Diagnose Deep Damage and Moisture Issues
Surface scratches, general dullness, and minor UV discoloration are standard issues that will easily disappear during the standard sanding phase. However, deep gouges, dark pet stains, or extensive water damage require a completely different approach. Pet urine is particularly destructive. It contains ammonia that chemically burns the wood fibers all the way through the plank, turning them permanently black. Surface sanding alone rarely removes these deep-set chemical stains. In these severe cases, you will need to physically cut out the damaged boards and weave in new, matching boards before the finishing stages begin.
Finally, perform a strict moisture test using a professional moisture meter. The wood must be properly acclimated and thoroughly dry before any work begins. If your subfloor or basement has underlying moisture issues, sealing the wood on top will trap that moisture. This inevitably leads to severe cupping, crowning, or finish failure down the road. Fixing environmental and HVAC issues is a mandatory prerequisite to any successful refinishing project.
2. Gathering the Right Tools and Materials for the Job
Proper floor restoration requires commercial-grade equipment and premium supplies. The standard DIY orbital sander sitting in your garage will absolutely not suffice for an entire room. You will need to source specific, heavy-duty tools to ensure a smooth, professional result that will not degrade prematurely.
Heavy Machinery Requirements
- The Drum Sander: The cornerstone of the operation is the 8-inch or 11-inch drum sander. This heavy machine is designed to aggressively strip the old finish and level the wood planks perfectly. It operates on 220V power and requires significant physical control.
- The Edge Sander: Because a large drum sander cannot reach all the way to the baseboards or into tight corners, you will also need a professional edge sander. Edgers are incredibly aggressive, heavy rotary sanders that handle the perimeter of the room.
- The Buffer (Planetary Sander): For the final smoothing, blending the drum and edger marks, and conducting between-coat abrasion, a 16-inch floor buffer is strictly required.
Abrasives and Fillers
Beyond the heavy machinery, your materials list must include a wide, sequential range of sandpaper grits. You will typically progress through a strict sequence. A common progression is 36-grit, 60-grit, 80-grit, and finally 100-grit. Skipping multiple grits is a common amateur mistake that leaves highly visible, deep scratch marks in the final product. You will also need a massive supply of high-quality wood filler. Look for trowelable fillers specifically formulated to accept wood stain, ensuring they blend in with the surrounding planks once colored.
Choosing the Perfect Finish Chemistry
You must select your preferred finish chemistry carefully, as this dictates the maintenance and look for the next decade.
- Oil-Based Polyurethane: This classic choice imparts a rich, warm, amber glow to the wood. It is incredibly durable and cost-effective. However, it has very high VOCs, a potent odor, and requires very long drying times between coats.
- Water-Based Polyurethane: Modern water-based finishes rival oil in durability but dry in a fraction of the time. They have a very mild odor and remain crystal clear over time. This preserves the natural, raw color of lighter woods like maple or bleached oak without turning them yellow.
- Hardwax Oils: These are excellent, modern European alternatives. They offer a gorgeous matte, natural look that penetrates the wood rather than sitting on top as a plastic film. Hardwax oils allow for localized spot repairs without needing to clear out and refinish the entire room.
Do not forget your personal safety gear. Fine wood dust is a known respiratory hazard, and the fumes from certain oil-based finishes can be highly toxic. High-quality P100 respirators, heavy-duty gel knee pads, protective safety glasses, and industrial hearing protection are completely non-negotiable elements of your professional toolkit.
3. The Crucial Step of Floor Sanding and Preparation
Sanding is exactly where the physical transformation happens. It is simultaneously the stage where irreversible, costly damage can occur if you are not exceptionally careful with the machinery.
The Rough Cut
Begin with the drum sander loaded with coarse paper. You will usually start with 36-grit or 40-grit, depending entirely on the thickness of the old finish and the unevenness of the floorboards. Always move the sander perfectly in the direction of the wood grain. Never start or stop the machine’s motor while the sanding drum is resting on the floor. Doing so will instantly carve a deep, permanent divot (known as a chatter mark or a drum drop) into the planks. You must engage the drum slowly while already moving forward, and lift it smoothly before you come to a stop.
Tackling the Perimeter
Once the main field of the floor is fully stripped down to bare wood, move immediately to the perimeter with the edge sander. The edger requires a very firm grip and constant, sweeping circular motion to prevent burning the wood via friction. The primary goal here is to blend the newly sanded edges seamlessly with the main field, maintaining a perfectly flat, uniform surface across the entire room.
Trowel Filling and Fine Sanding
After the initial rough sanding removes the old finish, you must fill the gaps. Wood expands and contracts with seasonal temperature and humidity changes, which naturally creates unsightly gaps between the boards over time. Use a full trowel-fill method with your high-quality wood filler matched to your specific wood species. Spread it aggressively across the entire floor with a flat trowel, forcing the compound deeply into the voids.
Once the filler is completely dry and hardened, proceed with the finer sanding grits. You will run the machines again with 60-grit, then 80-grit, and finally 100-grit. Each progressive pass removes the microscopic scratches left by the previous, coarser grit. The absolute final pass should be done with a buffer equipped with a multi-disc planetary attachment to ensure absolute, glass-like smoothness and to erase any directional sanding lines.
Meticulous Cleaning
Preparation concludes with obsessive, meticulous cleaning. Vacuum the floor multiple times. Use a soft brush attachment to pull trapped dust directly from the grain and the microscopic gaps between the baseboards. Follow up immediately with a specialized tack cloth lightly dampened with mineral spirits or distilled water. This picks up the finest, invisible dust particles. Any dust left behind at this stage will become permanently trapped and visible in your pristine new finish.
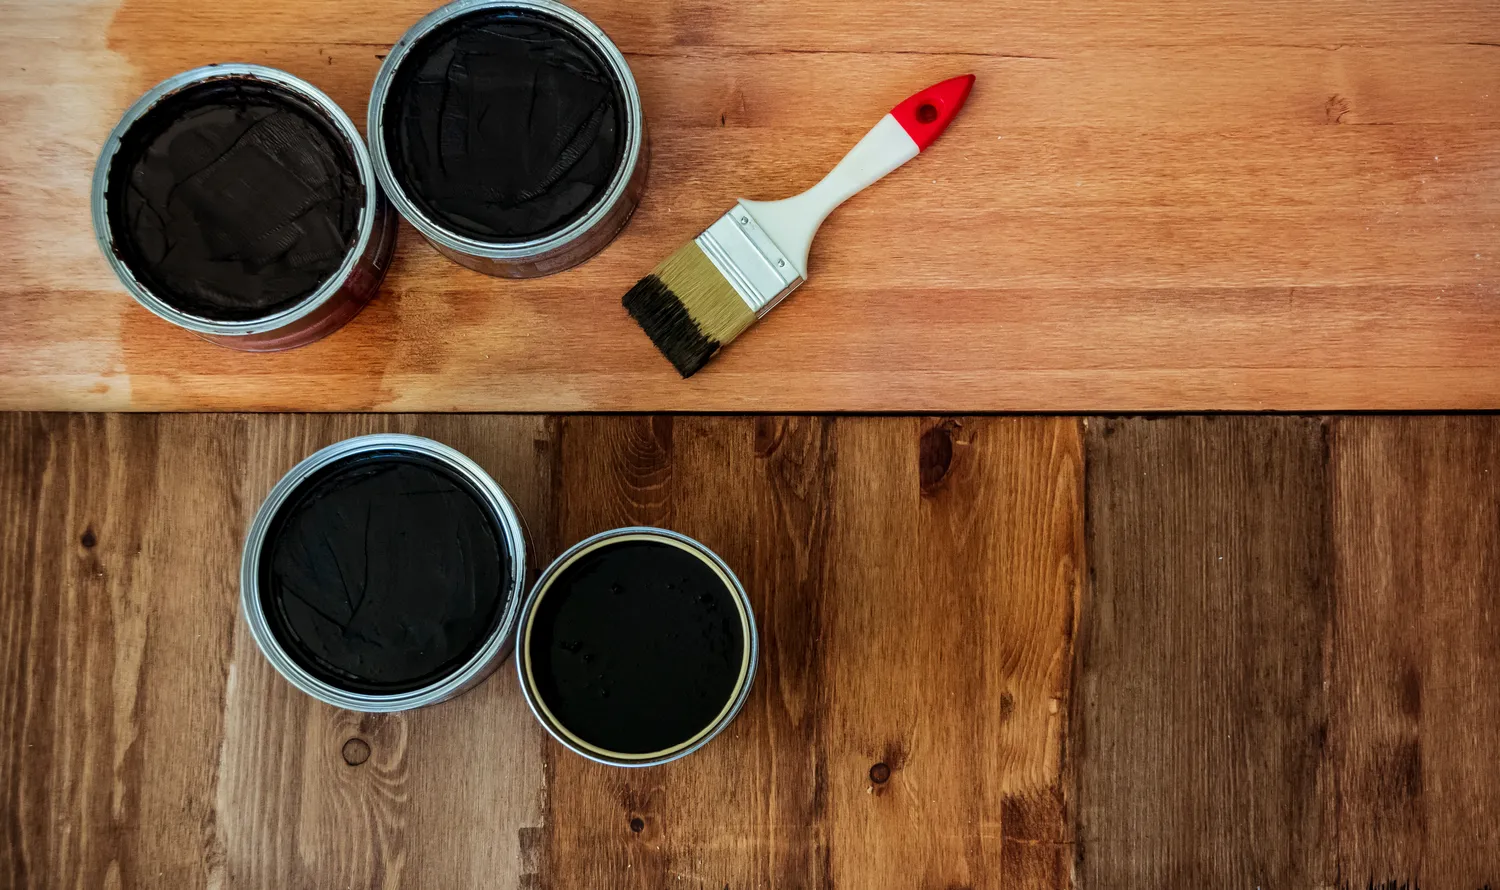
4. Staining and Sealing for Long-Lasting Beauty
With a pristine, raw wood canvas perfectly prepared, you are finally ready to apply customized color and robust protection. If you love the organic, natural look of your hardwood, you can completely skip the staining process and move straight to applying a clear sealer. However, if you want to dramatically update the tone to a dark espresso, a trendy coastal gray, or a warm classic chestnut, staining is your mandatory next step.
The Art of Water Popping
To achieve a perfectly even, deep stain color, especially on difficult or closed-grain woods like maple, hickory, or pine, professionals utilize a technique called “water popping.” This involves wiping the entire bare floor with a damp microfiber mop to intentionally raise the natural wood grain. This process opens the cellular pores of the wood and allows the colored stain pigments to penetrate deeply and uniformly, eliminating blotchiness.
Once the floor is completely dry from the water popping process, carefully apply the stain. Work systematically in small, manageable sections. Wipe or buff the stain on with a rag or a professional applicator pad. Let it penetrate the wood fibers for a few minutes, and then aggressively wipe off all the excess material. Any stain left pooling heavily on the surface will simply dry sticky and cause your expensive topcoats to peel and fail.
Applying the Topcoats
After the stain has cured fully according to the specific manufacturer’s exact specifications, it is time to apply the protective finish. This curing process can take anywhere from 12 to 48 hours depending on indoor humidity and temperature.
The first coat of finish acts as your foundational sealer. Apply it smoothly and evenly using a T-bar applicator or a specialized microfiber roller. You must maintain a “wet edge” at all times to avoid visible lap marks where wet and dry finishes overlap. Allow the first coat to dry completely.
Before applying any subsequent protective coats, the floor must be lightly abraded. This is called “screening.” You will use the floor buffer equipped with a fine-grit abrasive screen, usually 220-grit. Screening knocks down any raised grain fibers and creates mechanical adhesion, giving the next liquid layer microscopic grooves to grab onto. Vacuum and tack the floor yet again. Apply a minimum of three coats of high-grade polyurethane for standard residential spaces, ensuring adequate drying time and proper HVAC ventilation between each distinct application.
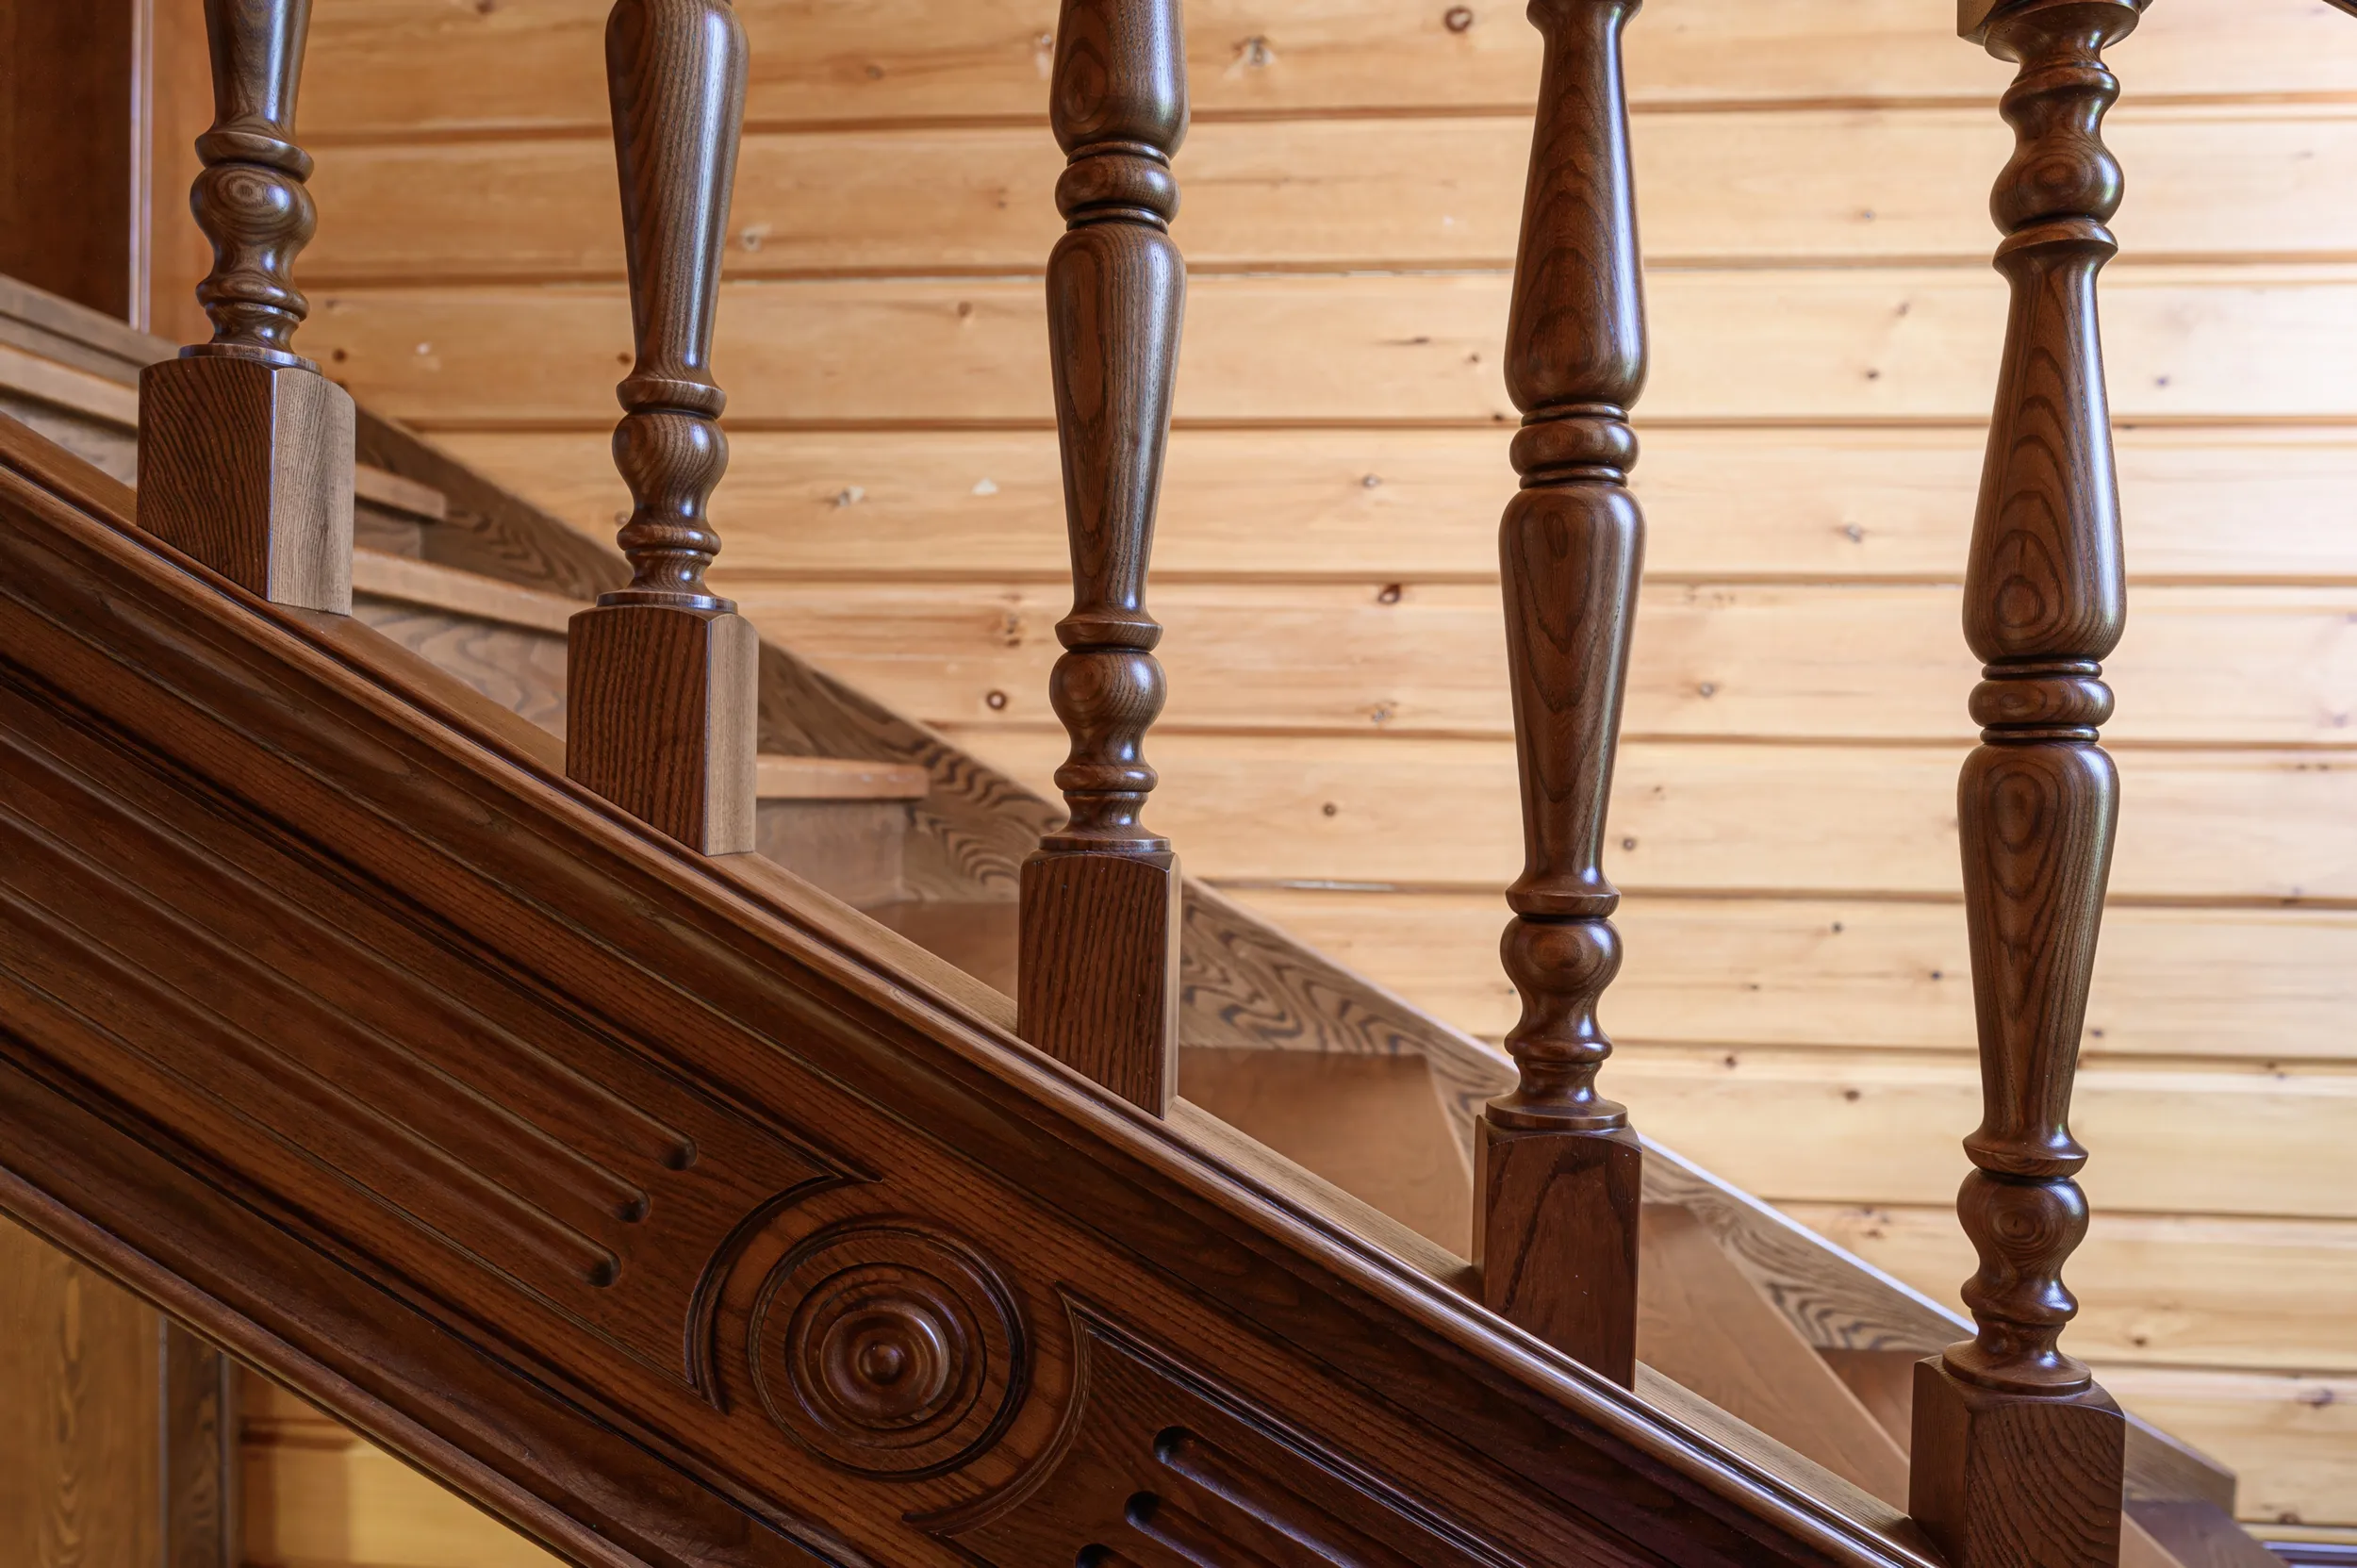
5. Integrating a Seamless Staircase Renovation
Floors do not exist in total isolation within a house. They serve to connect the various levels, rooms, and architectural elements of your home. When you beautifully transform your main living areas, the adjoining stairs often stand out immediately as visually dated or mismatched. Undertaking a comprehensive staircase renovation simultaneously is highly recommended by designers to ensure a cohesive, flowing interior design.
Stairs are highly intricate structural components consisting of treads, risers, and overhanging nosing. Refinishing stairs is incredibly labor-intensive because heavy drum sanders cannot be used on such small surfaces. Every single tread and riser must be painstakingly stripped and sanded using handheld random orbital sanders, triangular detail sanders, and sharp manual scraping tools. The tight corners where the tread meets the wall or the stringer are notoriously difficult to clean out and require immense manual labor.
When dealing directly with stairs, physical safety is absolutely paramount. The clear finish applied to stair treads must have a legally appropriate slip-resistance rating. High-gloss finishes, while visually stunning in a formal dining room, can instantly turn a wooden staircase into a severe slipping hazard. Consider strongly using a satin or matte finish for these high-risk areas. Alternatively, you can explore specialized anti-slip aluminum oxide additives that mix directly into the final liquid coat of polyurethane.
If the existing stair treads are structurally compromised, squeaky, or made of cheap construction-grade pine previously hidden by thick carpet, sanding them is a waste of time. Installing new solid hardwood retro-treads directly over the existing framework might be a far more efficient, safe, and aesthetically pleasing solution than attempting to salvage damaged wood.
6. DIY vs. Hiring a Professional Hardwood Expert
The ultimate decision to tackle this massive project yourself or hand it over entirely to trained experts is highly significant. Hardwood floor restoration is brutally physically demanding, incredibly loud, and inherently messy, despite modern advancements in portable dust-containment vacuum systems.
Ambitious DIY enthusiasts can absolutely succeed if they possess extreme attention to detail, high physical stamina, and the rare patience to learn heavy equipment operation on the fly. However, the learning curve is exceptionally steep and unforgiving. A single momentary mistake with a 220V drum sander can permanently ruin a floor board, requiring professional carpentry replacement. Furthermore, the financial costs of renting the heavy equipment, purchasing boxes of abrasives, buying gallons of fillers, custom stains, and premium commercial finishes quickly adds up. This often makes the perceived cost savings of the DIY route much smaller than originally anticipated.
If you want truly guaranteed results, perfectly blended room edges, custom complex stain matching, and a flawlessly smooth, factory-grade finish, it is time to search for a highly rated flooring contractor near me. True professionals have exclusive access to superior commercial-grade finishes. These advanced chemical finishes can even cure instantly via UV light machines in hours rather than days, drastically reducing the agonizing time you are locked out of your own home.
When you are seeking genuine excellence, look toward established industry leaders. A specialized company like Magic Floor Design represents the absolute gold standard in the trade. They combine old-world, meticulous craftsmanship with hyper-modern dustless sanding technology. Experts understand intimately exactly how different exotic and domestic wood species react to specific stains and ambient humidity. They ensure that the finished product is not just a walkable surface, but a lasting, valuable piece of architectural art. They take every ounce of guesswork out of the complex equation, seamlessly transforming a highly stressful construction project into a massive, permanent upgrade for your home.