February 18, 2026
How to Replace Stair Railings
- How Do You Assess Your Current Staircase Structure Before Replacing a Railing?
- Which Wood Species Is Best for Stair Railings in Terms of Durability and Style?
- What Building Codes and Safety Requirements Must Your Stair Railing Meet?
- What Is the Step-by-Step Process for Removing and Installing a New Stair Railing?
- How Do Balusters, Railing Shoes, and Finishes Impact the Final Look and Performance?
- Should You Hire a Professional Stair Railing Contractor or Attempt a DIY Installation?
- How Do You Maintain a Wood Stair Railing and Protect It for the Future?
A staircase is rarely just a functional tool for moving between floors. In the world of high-end interior design and architectural millwork, the staircase is the spine of the home. It is a sculptural element that dictates the flow of light, the rhythm of the architecture, and the first impression guests receive when they step through the front door. However, even the most beautifully crafted wooden stairs can be let down by an outdated, wobbly, or aesthetically clashing railing system. In 2026, as homeowners pivot toward “quiet luxury” and organic modernism, the demand for high-quality woodcraft has never been higher.
Replacing a stair railing is one of the most transformative home improvement projects you can undertake. It is a complex marriage of geometry, structural engineering, and fine woodworking. Whether you are looking to swap out heavy, dark 1980s turned balusters for sleek modern lines or you need to bring an old staircase up to modern safety codes, this guide provides the deep industry insight required to execute a flawless replacement. We will explore everything from the structural physics of the newel post to the chemical nuances of the final topcoat.
The Architectural Audit: Assessing Your Current Staircase Structure
Before you pick up a crowbar or browse a catalog of newel posts, you must perform a forensic analysis of your existing staircase. A railing system is only as strong as the structure it is anchored to. In the industry, we often see homeowners spend thousands on premium white oak handrails only to attach them to a “bouncy” stringer or a subfloor that cannot support the lateral load. This is a recipe for a railing that will eventually fail or, at the very least, develop an annoying and dangerous squeak.
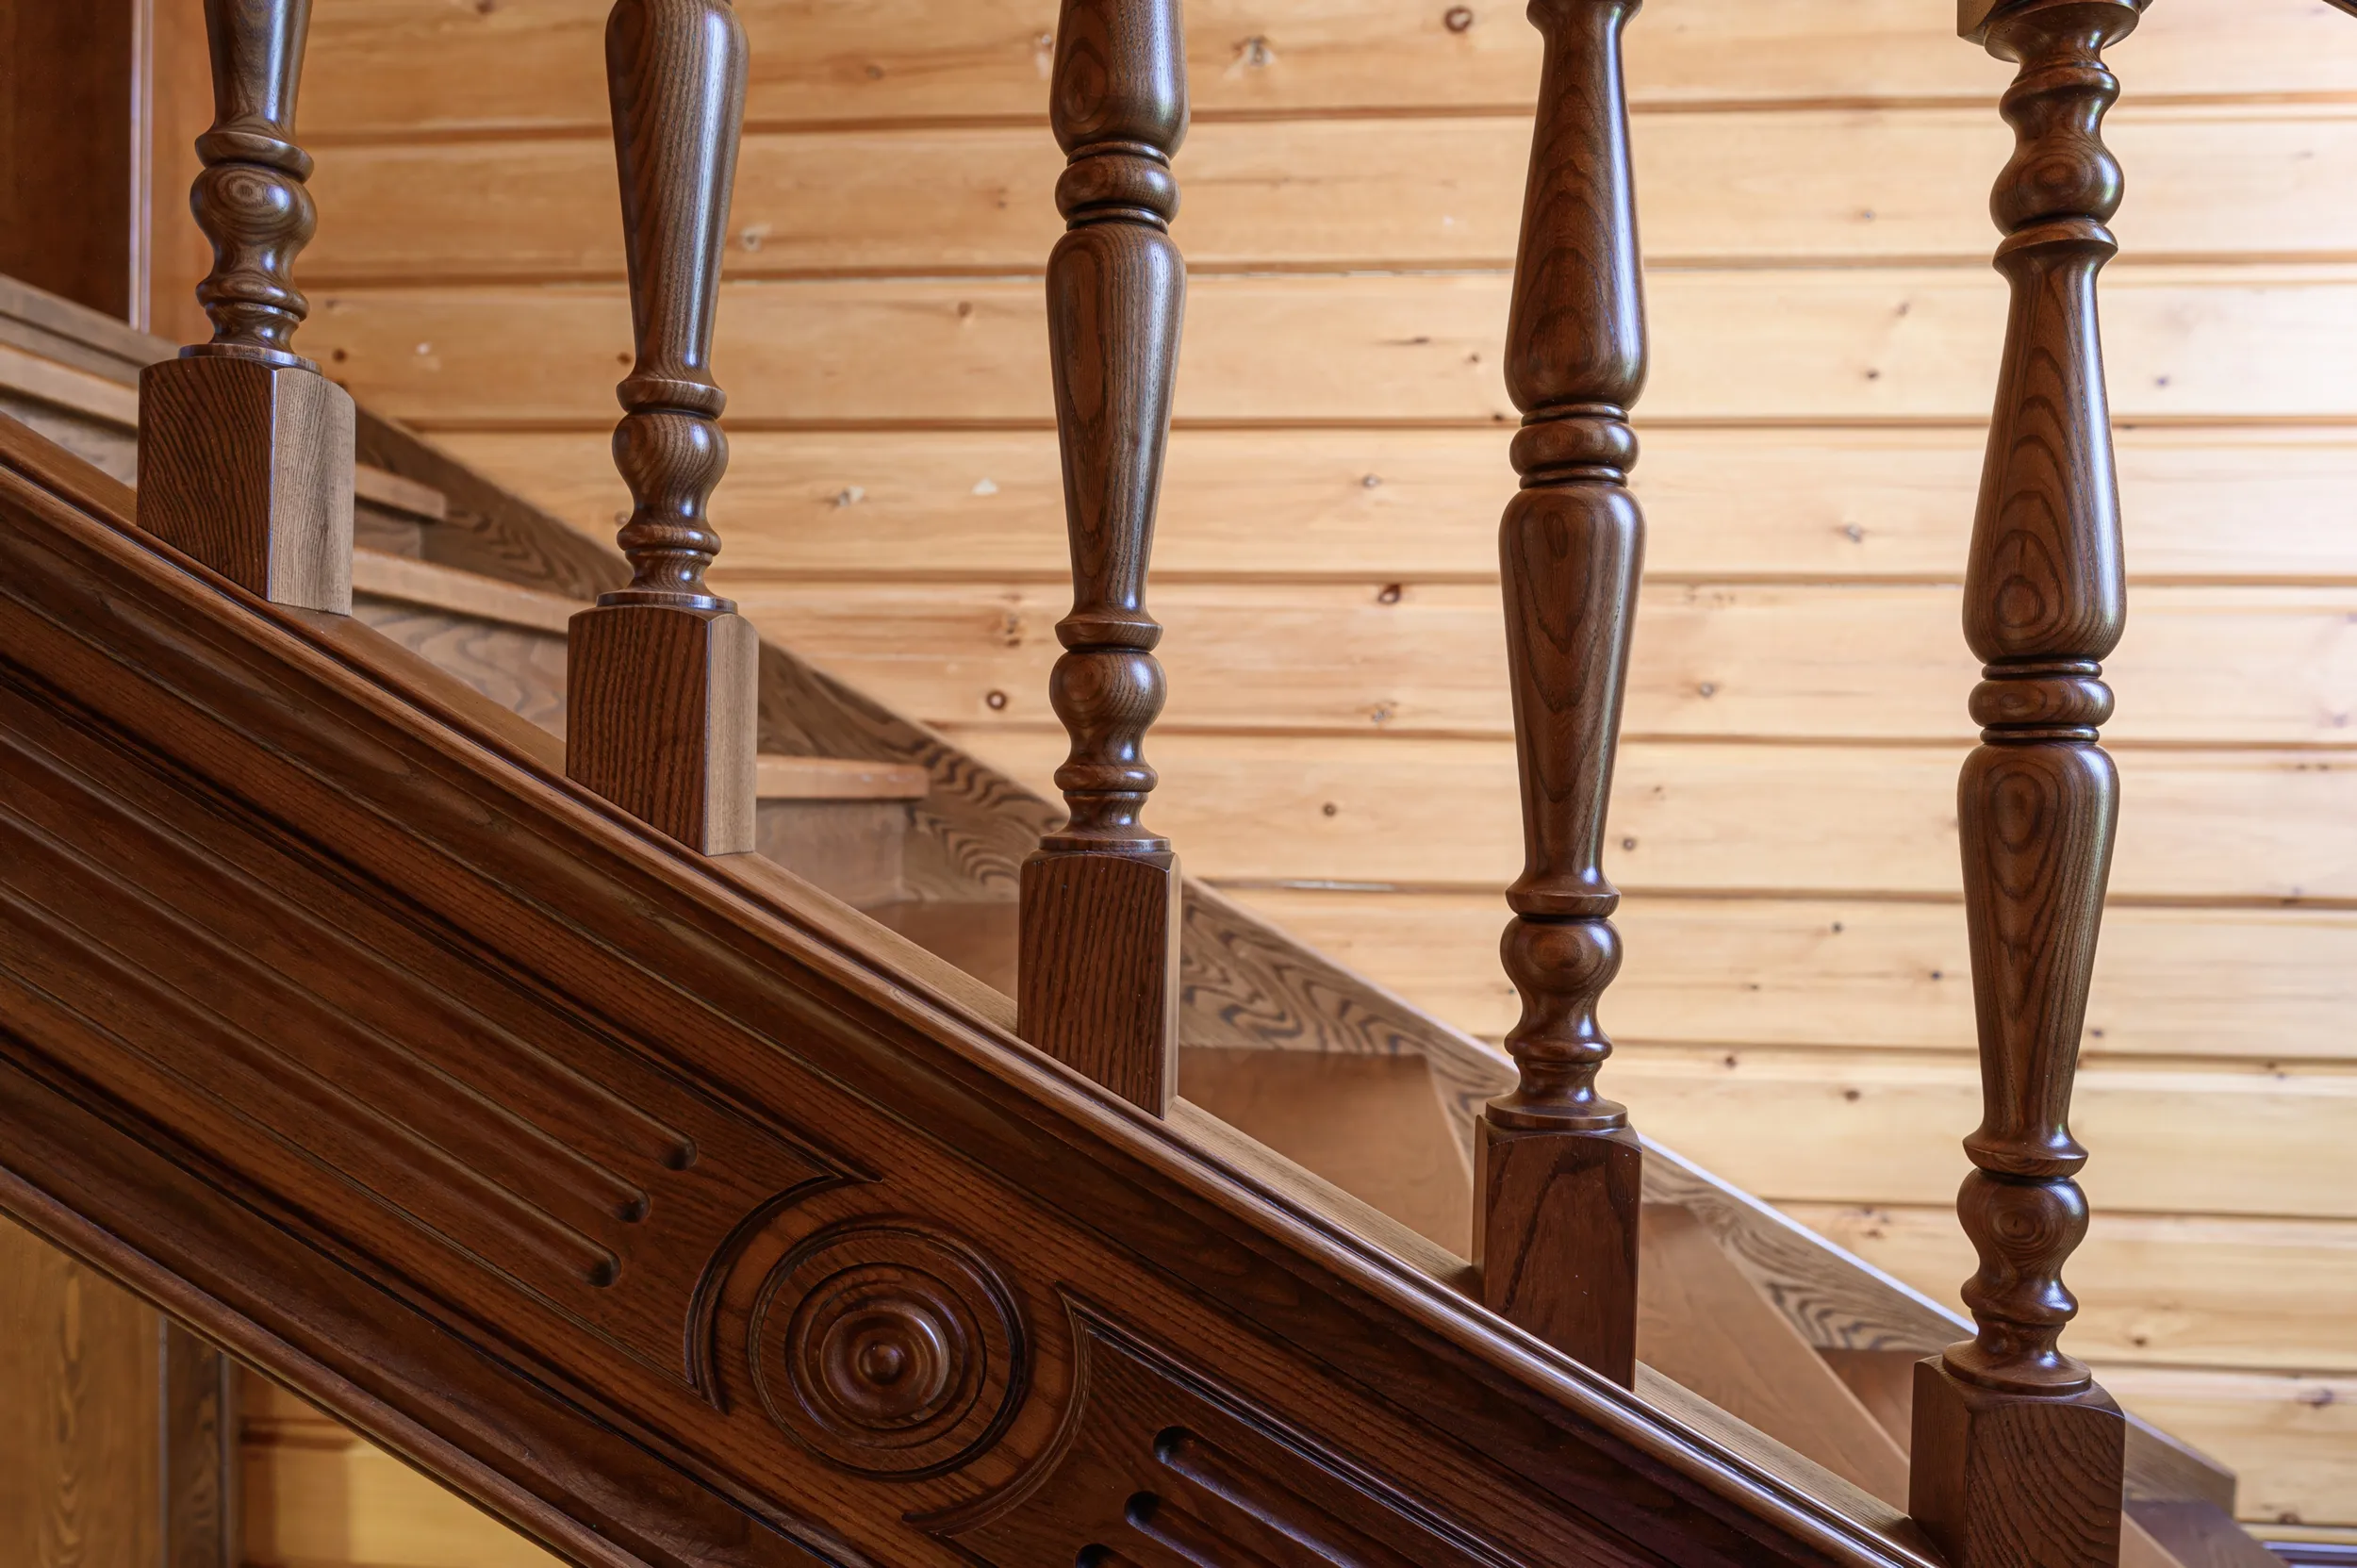
Start by checking the newel posts, which are the heavy anchors at the top, bottom, and turns of the stairs. If the newel post moves even a fraction of an inch when you apply pressure, the issue might be deep in the framing beneath the floor. Replacing a railing often reveals hidden sins of past builders, such as missing blocking or undersized bolts. You must also determine the fundamental geometry of your current system. Is it “post-to-post,” where the handrail hits the side of the newel post? Or is it “over-the-post,” where the handrail runs continuously over the top of the posts using specialized fittings like volutes and goosenecks?
The “over-the-post” system is widely considered the pinnacle of traditional stair craftsmanship. It creates a seamless, flowing line that is pleasing to both the hand and the eye. However, it requires significantly more precision in the cutting and joining phases. If you are planning to change the style of your system, you must ensure the new geometry respects the “rise and run” of your existing treads. A common mistake is installing a handrail that is at the correct height at the bottom but becomes illegally low or high as you ascend because the rake angle was calculated incorrectly.
Material Science: Choosing Wood Species for Longevity and Style
The choice of wood species is where many projects fail before they begin. As experts, we see a common mistake: choosing a wood based solely on a small stain sample without considering the grain density or the mechanical properties of the timber. Wood is a living material that reacts to the environment; it expands in the humid summer and shrinks in the dry winter.
- Red Oak: This is the industry workhorse. It is incredibly hard, finishes predictably, and has a deep, open grain that hides minor scratches and dings from active households. It is the gold standard for traditional American homes because of its reliability and availability.
- White Oak: Currently the darling of modern and “organic modern” design. It is slightly harder than Red Oak and has a more neutral, wheat-colored tone. Its closed cellular structure makes it more resistant to moisture, though that is rarely a concern for interior stairs. Its long, linear grain pattern is perfect for the minimalist aesthetics popular in 2026.
- Maple: A very dense, closed-grain wood. It is perfect for contemporary homes but notoriously difficult to stain. If you want a dark finish on maple, you often need to use dyes or pre-stain conditioners to prevent “blotchiness.” It is exceptionally durable, making it great for high-traffic areas.
- Walnut: The luxury choice. Its chocolate hues and sophisticated grain patterns require little more than a clear coat to look stunning. However, it is softer than oak, meaning it may show dings from heavy vacuum cleaner impacts or toy cars more easily. It is a wood for those who appreciate the patina of time.
Beyond the species, you must consider moisture content. Professional-grade railing components are kiln-dried to a specific percentage (usually between 6% and 9%). If you buy “big box” lumber that hasn’t been properly conditioned for interior use, your beautiful new handrail may twist, cup, or shrink once the winter heating season begins, leading to cracked joints and loose balusters. Always ensure your materials have been acclimated to your home’s humidity for at least a week before installation begins.
Navigating the Legal Landscape: Code Compliance and Safety
A stair railing is, first and foremost, a life-safety device. Building codes regarding staircases are among the most stringent in the construction industry. When you replace a railing, you are legally obligated to meet the current International Residential Code (IRC) or your local equivalent. Many DIYers fall into the trap of replacing like-for-like, only to realize their old railing was “grandfathered in” and their new one is technically illegal and a liability risk.
One of the most critical rules is the “4-inch sphere rule.” This states that balusters (the vertical guards) must be spaced closely enough that a 4-inch diameter sphere cannot pass through at any point. This is specifically designed to prevent small children from getting their heads stuck or falling through. In practice, this usually means spacing balusters about 3 to 3.5 inches apart, depending on their thickness. Another often-overlooked rule is the triangular opening formed by the riser, tread, and bottom rail. This, too, must not allow a 6-inch sphere to pass.
Furthermore, the handrail height must typically be between 34 and 38 inches, measured vertically from the “nosing” (the front edge) of the stair tread. The handrail itself must also be “graspable.” This is a technical term defined by the code. A massive, 4-inch wide flat board might look cool in a minimalist loft, but if a person cannot wrap their fingers around it to break a fall, it will fail inspection. Code-compliant handrails must have a perimeter between 4 inches and 6.25 inches. If you choose a non-standard shape, you may need to install a secondary, code-compliant handrail on the wall side.
The Teardown and Technical Installation Process
Once the planning is complete, the physical work begins. Removing an old railing requires a “measure twice, cut once” mindset, but in reverse. You want to remove the old components without damaging the finished treads or the drywall. This is often where “hidden” challenges arise—such as discovering that the old balusters were glued with industrial-strength epoxy into the treads.
The installation of the new system starts with the newel posts. These are the anchors of the entire assembly. For a rock-solid stair railing installation, the newel posts should be bolted directly to the floor joists whenever possible. This often involves cutting into the subfloor or drywall below to install heavy-duty blocking. If you are installing on a finished floor where access to the joists is impossible, specialized hardware like the “KeyMount” or “Sure-Tite” system is essential. These systems use a long, heavy-duty bolt that threads deep into the framing, providing a level of stability that simple lag screws cannot match.
Once the posts are plumb and secure, you move to the handrail. Measuring the angles for the handrail cuts is the true test of a carpenter’s skill. Because stairs can settle over time, a “45-degree” turn is rarely exactly 45 degrees. Pros use a digital protractor or a sliding T-bevel to find the exact angle of the stair rake. When joining pieces of handrail, especially in an over-the-post system, we use rail bolts. These are hidden fasteners that pull the two pieces of wood together with immense pressure. A thin layer of wood glue is applied to the end grain, and the bolt is tightened through a small “access hole” on the underside of the rail. This hole is then plugged with a wood bung, sanded flush, and finished to become invisible.
The Fine Details: Balusters, Shoes, and Finishes
The final stage of the project is the installation of the balusters. You have a choice between wood and metal. Iron balusters have seen a massive surge in popularity because they allow for slimmer profiles and more “negative space,” which can make a small hallway feel much larger. Wood balusters, conversely, provide a sense of warmth and traditional craftsmanship that is hard to replicate.
If you are using wood balusters, you will likely use a “pin-top” or a “square-top” design. Pin-top balusters fit into holes drilled into the underside of the handrail, while square-top balusters fit into a “plowed” handrail with small spacer blocks (fillets) between them. The square-top system is a more traditional look that offers a very clean, linear aesthetic. The drilling for the balusters must be perfectly vertical; even a half-degree lean will be visible when looking down the length of the railing.
The “shoes” are the small decorative metal or wood pieces that sit at the base of the baluster. While they are technically decorative, they serve a vital practical purpose: they hide the transition where the baluster meets the tread or the stringer. This allows for a small amount of “wiggle room” during the drilling process, ensuring that the final look is polished even if the structural holes are not perfectly centered to the millimeter.
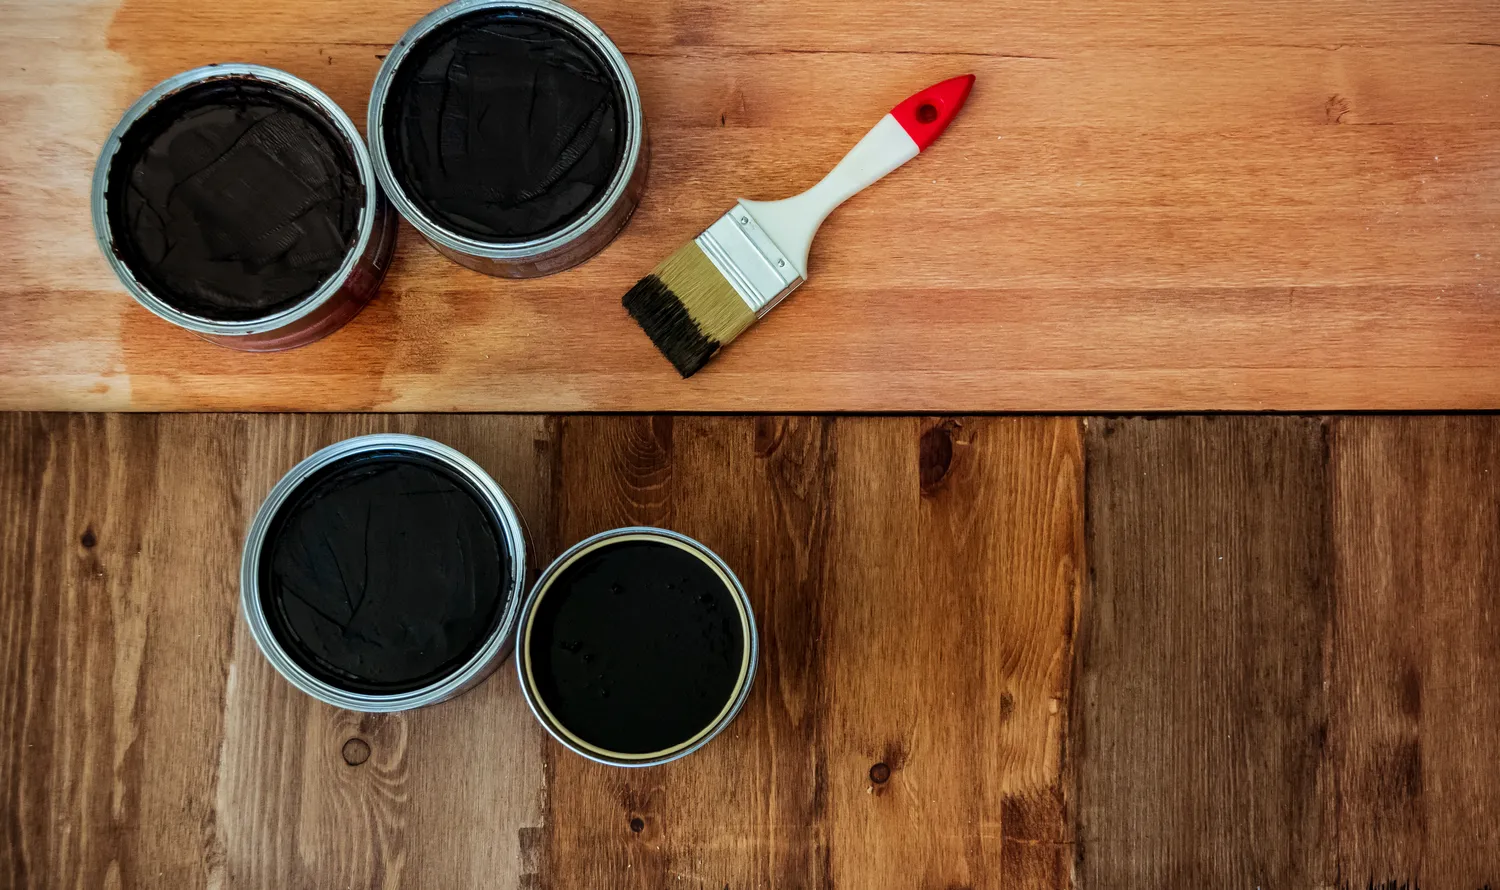
Finally, the finish. A handrail is a high-touch surface. The oils from human hands are surprisingly acidic and can break down cheap finishes over time. We recommend a high-solids polyurethane or a modern hardwax oil. Hardwax oils are particularly popular in 2026 because they provide a “natural” feel—you are touching the wood, not a layer of plastic—while allowing for easy spot-repairs if the rail gets scratched during a furniture move.
Precision vs. DIY: Choosing Your Path
Replacing a stair railing is often marketed as a manageable DIY project, but the reality is that the margin for error is razor-thin. A mistake of 1/8th of an inch at the bottom of the flight can translate into a 2-inch gap at the top. Furthermore, the specialized tools required—high-torque drills, digital angle finders, specialized rail-bolt wrenches, and high-end mitre saws—represent a significant investment for a one-time project. There is also the matter of dust. Professional installers use high-end extraction systems to ensure that the sanding of your new rail doesn’t coat your entire home in fine wood flour.
If you find yourself overwhelmed by the geometry of goosenecks or the physics of newel post anchoring, it is time to look for professional help. Searching for railing contractors near me will likely yield many results, but you should look for specialists rather than general handymen. A general contractor might build a great deck, but interior staircases are a sub-discipline of finish carpentry that requires a different level of finesse and specialized machinery. You want someone who understands the “stair code” by heart and has the portfolio to prove they can handle complex transitions.
A specialist company like Magic Wood Stairs & Railings brings a level of institutional knowledge that prevents common pitfalls. They understand how different wood species will react to the specific humidity levels in your region and can provide custom-milled components that you simply cannot find at a retail hardware store. They also have the equipment to perform “off-site” finishing, which means your handrails arrive already stained and cured, reducing the time your home is a construction zone and eliminating the smell of wet finish in your living space.
Ultimately, your staircase is a bridge between the different worlds of your home. It should be as safe as it is beautiful. By choosing the right materials, respecting the engineering requirements of the code, and ensuring the installation is handled with precision, you turn a simple transition into a masterpiece of home design. A new railing is one of the few home improvements that provides both immediate aesthetic gratification and a long-term increase in property value.
Maintenance and the Future of Your Stairs
Once your new railing is installed, the work isn’t quite over. Wood is a dynamic material, and in the first year, your home will go through a full cycle of seasons. You may notice tiny “hairline” separations in some joints as the wood acclimates to the dry winter air. This is normal and is why professional installers often return after six months for a “tune-up” to fill any minor gaps and ensure everything is still tight.
Cleaning your railing is simple but requires the right products. Avoid “furniture polishes” that contain silicone or wax, as these can create a slippery surface and make it impossible to re-coat the rail in the future without a full sanding. A damp microfiber cloth is usually all you need. For deep cleaning, use a pH-neutral wood cleaner.
If you are ready to transform your entryway, don’t settle for “good enough.” The staircase is the first thing people see and the last thing they touch as they head to bed. It deserves the attention of an expert. Taking the time to Magic Wood Stairs & Railings your home’s interior architecture is an investment in the soul of your house. Whether you are aiming for a sleek glass-and-wood combination or a traditional carved oak masterpiece, the goal remains the same: a railing that stands firm, feels good in the hand, and looks like it has always belonged there.